Displaying a SharePoint 2010 library on a page in a different site within the same site collection
One of our customers contacted us the other day with a problem. They wanted to put a view of a document library that was located in the top level site of a site collection onto the landing pages of all the second level sites in that collection. The customer had consulted the internet hive mind and found a blog post with instructions which had been diligently followed and yet whenever a user clicked ‘New’ on the ribbon bar an error occurred.
After a bit of poking and prodding on my local test system I not only replicated the fault but also found the cure. Since none of the other sites on the internet that I found mentioned this, I thought I’d better write it up for the world.
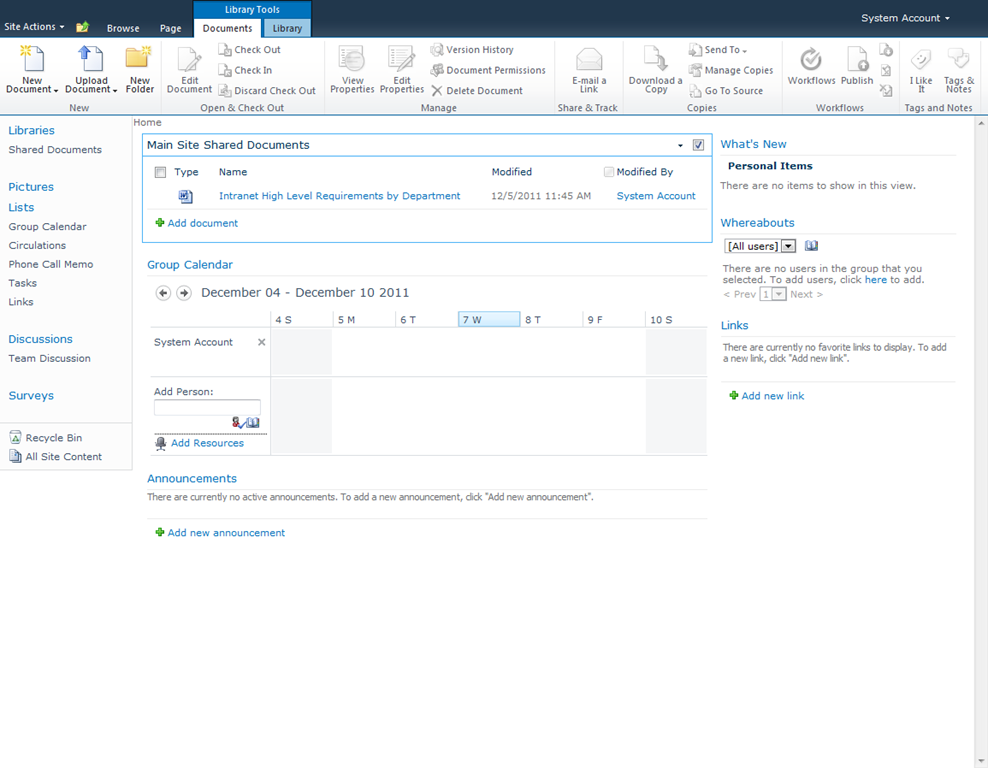
The screenshot below shows you our goal. The ‘Main Site Shared Documents’ web part actually points to a document library that is in the site above the one we are in.
Step 1: Export the original list web part with SharePoint Designer 2010
In order to place the view we need on our page we need a web part. To get that we have to edit the page of the view of our document library in SharePoint designer.
Navigate to the view of your document library and in the ribbon part choose ‘Modify In SharePoint Designer (Advanced) from the drop down ‘Modify View’ menu.
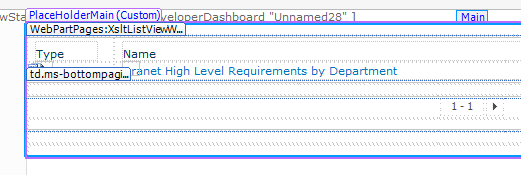
Once you have the page open in SharePoint Designer, you need to select the XsltListViewWebPart that is showing the contents of the library.
With the web part selected you will be able to switch Designer’s ribbon to the Web Part tab and choose ‘To File’ from the Save Web Part panel. Saving to the Site Gallery won’t work – I tried and SharePoint complained every time I added the web part to a page.
When you save the web part SharePoint Designer will throw up a dialog box:
You need to answer ‘Yes’ to this question because we want the web part to always point at our target document library, no matter where we use it.
Step 2: Add the web part to your page
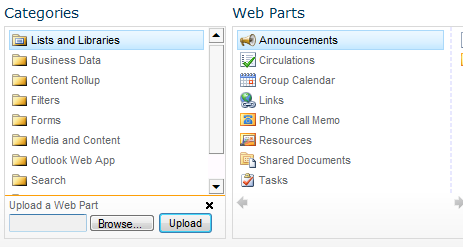
Edit your target page and add a web part to your intended zone. When the web part panel comes up, you will see ‘Upload a Web Part’ in small text beneath the Categories panel and clicking that will expand the control to give you a file browser.
Browse to the web part you saved from SharePoint Designer and then Upload the file. The web part picker will close at this point. Don’t panic!
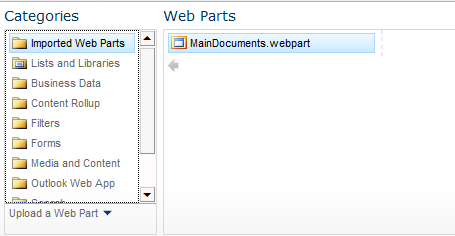
Go through the steps to add a web part again and this time in the Categories panel you will have a new item at the top called Imported Web Parts. Select that and your web part will appear in the list so you can add it to the page.
Step 3: Change the toolbar setting on the web part
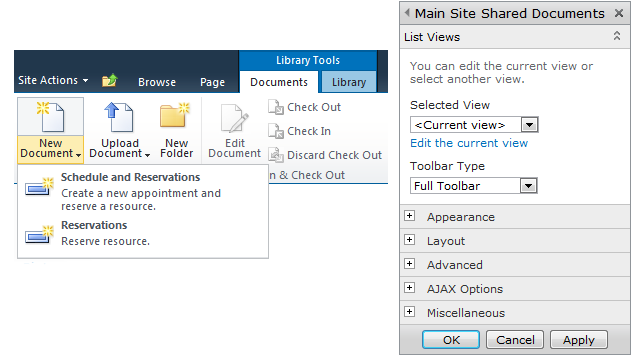
This is the important bit! When you add the new web part to your page everything appears to work fine. Documents from the document library open fine and clicking the ‘Add a new document’ link will open the upload dialog as they should. However, if you use the ribbon bar then you will notice very quickly that it is not the correct ribbon bar for the library – the items on the New menu will be wrong (if you have custom content types that’s easier to spot!) and trying to use the buttons will cause errors.
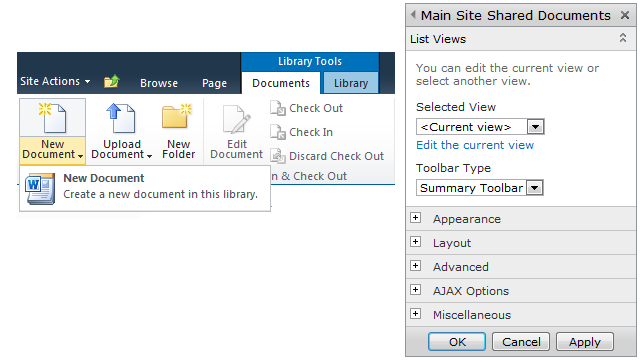
The solution to this conundrum turned out to be straightforward – simply change the toolbar setting of the web part. If you choose ‘Full Toolbar’ or ‘Show Toolbar’ you will see the erroneous behaviour; choose ‘Summary Toolbar’ or ‘No Toolbar’ and all will work fine.
The setting shown above on the web part will give you a broken menu (the other web part on the page is a calendar, so I get appointments!)
The setting shown above works just fine.
